How to Wire Lights to your Truck Rack

At Magnum Truck Racks, we strive to create highly functional yet extremely stylish truck accessories. While we build top-quality products, proper installation remains essential. With this guide, you can accurately wire the brake lights, backup lights, and light bars on your pickup.
Step 1: Feed the Headache Rack Wire Harness Plug Between the Cab and Truck Bed
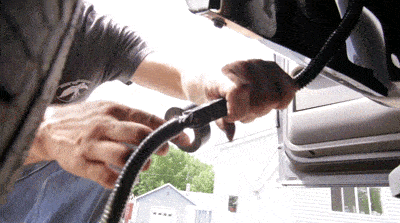
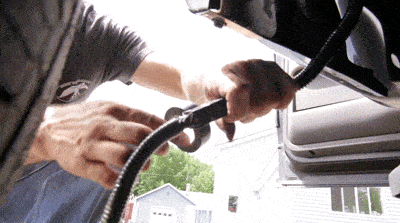
The first step in your installation process is to feed the headache wire harness plug down between the cab and the bed of your truck. Most trucks have a narrow space behind the cab where a wire can be fed. This space acts as a channel for much of the wiring, and it provides a convenient way to move wires without drilling or cutting holes on almost all trucks. Simply feed the wires from the top of this space downward so it can connect to the appropriate plug.
Step 2: Unplug the Seven-Way Trailer Harness Plug
Underneath your truck, towards the rear, you will find a seven-way trailer harness plug, which will need to be unplugged. This will allow for the appropriate plugs to be attached.
Step 3: Attach Modular Wire Harness
The third step is the attachment of the modular wire harness. Attach the modular wire harness to the seven-way trailer port, then re-attach the plug from Step 2 to the second port on the modular wire harness. Once these two connections are complete, you will be ready to connect the wiring to the headache rack.
Step 4: Attach Headache Rack Wire Harness
Now you will have to run the wire harness to the front of the truck where it can be attached to the headache rack. You will likely have to run the wiring over or around various components of your truck, including spare tires, exhaust, transfer cases, and more. Make sure the wiring is safe and is not located near any moving or potentially hot parts. You may need to feed the wiring over parts of the truck frame, depending on the model.
Once Step 4 is complete, you should have a fully-operational headache rack. However, you still need to make sure the excess wiring is secure.
Step 5: Secure Loose Wires to the Truck

The final step is to secure all the wiring to make sure nothing is loose or drooping. If you leave loose wiring, you can create a significant safety issue and could sever a wire, so use electrical tape or zip-ties to firmly secure the wiring, ensuring there are no loose or hanging lines.
Be sure that you are fixing the wires to secure points and avoid pinching the lines in and areas. Also, ensure that the wires will not become overheated. You may have to wrap excess wiring into a bundle and secure it to a safe location.
That’s it! Just five easy steps and you have wired the brake lights, backup lights, and light bars on your truck rack. Before driving the truck on open roads, test all the lights to ensure everything is working properly.
After wiring the lights, you can hit the road and enjoy one of the most stylish and functional headache racks available. If you have questions about installing headache racks or want more information about Magnum Truck Racks, contact our helpful staff and we’ll reach out to you with more information!
