How to install your Magnum headache rack on your 2015 Ford F-150
On the road to adding a headache rack to your 2015 model year Ford F-150? See the quick instructions below for installing your headache rack on a Ford F-150 below. And don’t forget to watch our installation videos in our video gallery!
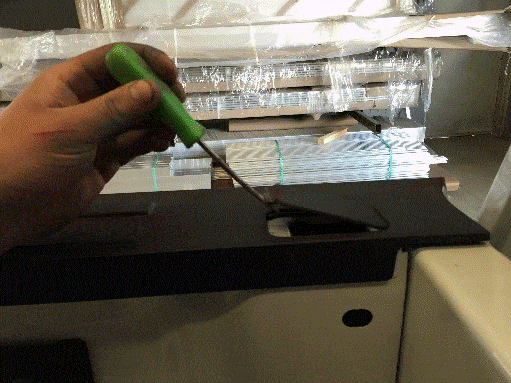
Step 1:
Remove plastic stake pocket cover from the front of the plastic bed rail.
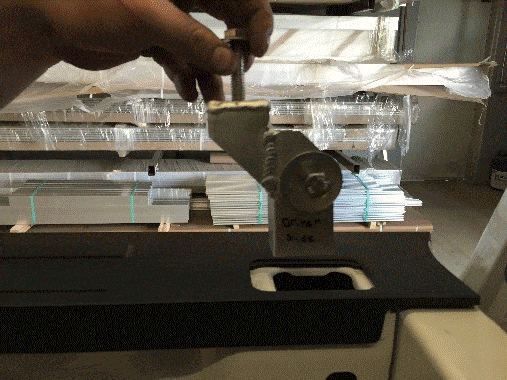
Step 2:
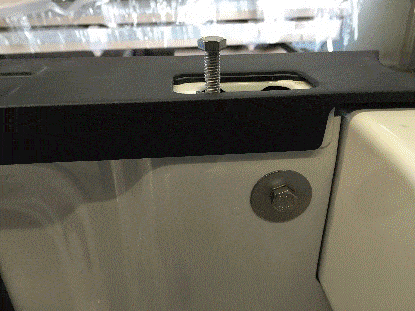
Remove side bolt from Headache Rack stake pocket tie down.
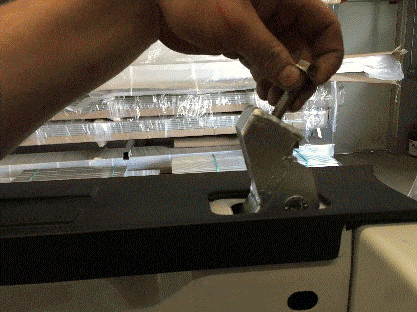
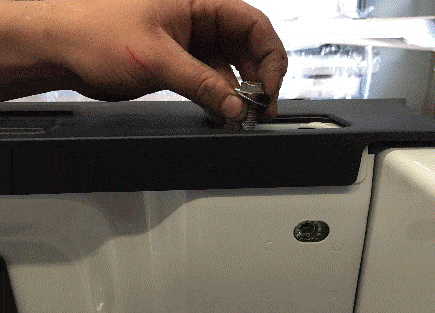
Step 3:
Insert stake pocket tie down. (Hand tighten side bolt only).
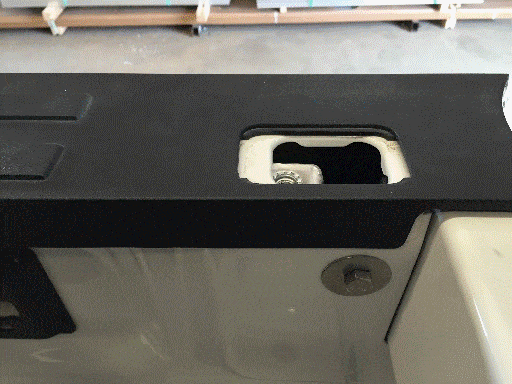
Step 4:
Remove top stake pocket tie down bolt.
Step 5:
Repeat steps 1-4 on opposite side.
Step 6:
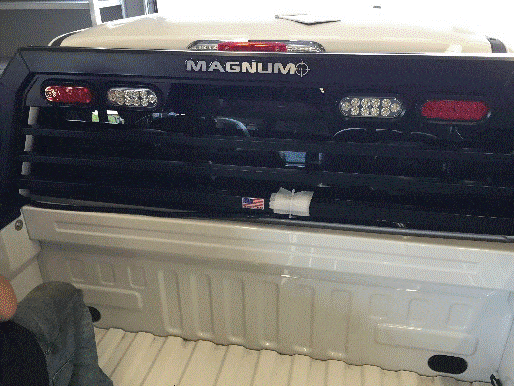
Place Headache Rack on the truck.
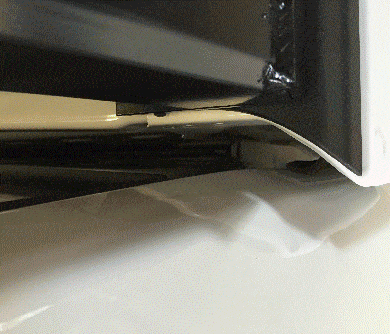
Step 7:
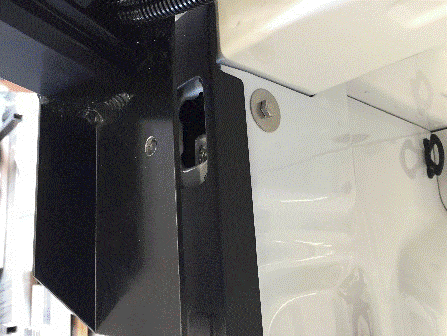
Line the front end of the Headache Rack foot with the front of the plastic bed rail of the truck.
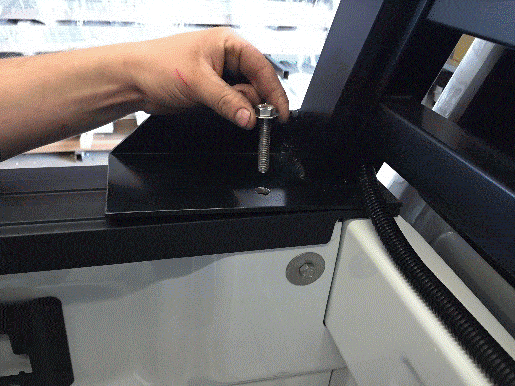
Step 8:
Insert the top bolt through the Headache Rack and bed rail. (Hand tighten only.)
Step 9:
Repeat steps 7-8 on the opposite side.
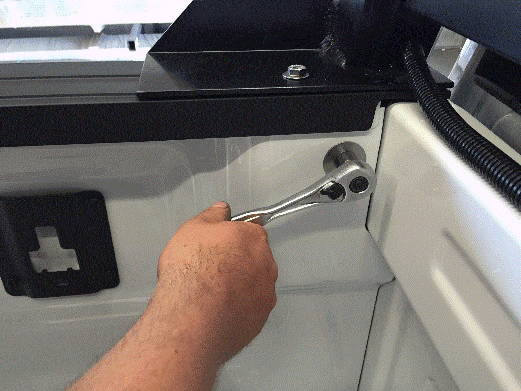
Step 10:
Tighten the side and top bolts. (WARNING!: DO NOT OVERTIGHTEN BOLTS. MAY CAUSE DAMAGE TO THE STAKE POCKET TIE DOWN).
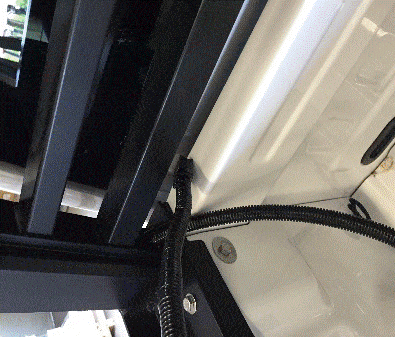
Step 11:
For Headache Racks with lights, please see the Wire Harness Installation Instructions.
Follow Up:
We recommend checking and retightening bolts within the first week of Headache Rack installation.
For a video showing how to install your wire harness, please visit our video gallery.
WARNING! DO NOT EXCEED CAPABILITIES OF TRUCK WHEN HAULING CARGO ON THIS RACK. FOR HEAVY DUTY USE, WE HIGHLY RECOMMEND ADDITIONAL BOLTS ALONG WITH THE STAKE POCKET INSTALLATION.
